Epoxy! How does it work?
We get a lot of questions about how we get the unique look of our multi coloured carvings. I thought I’d show a few photos of our process.
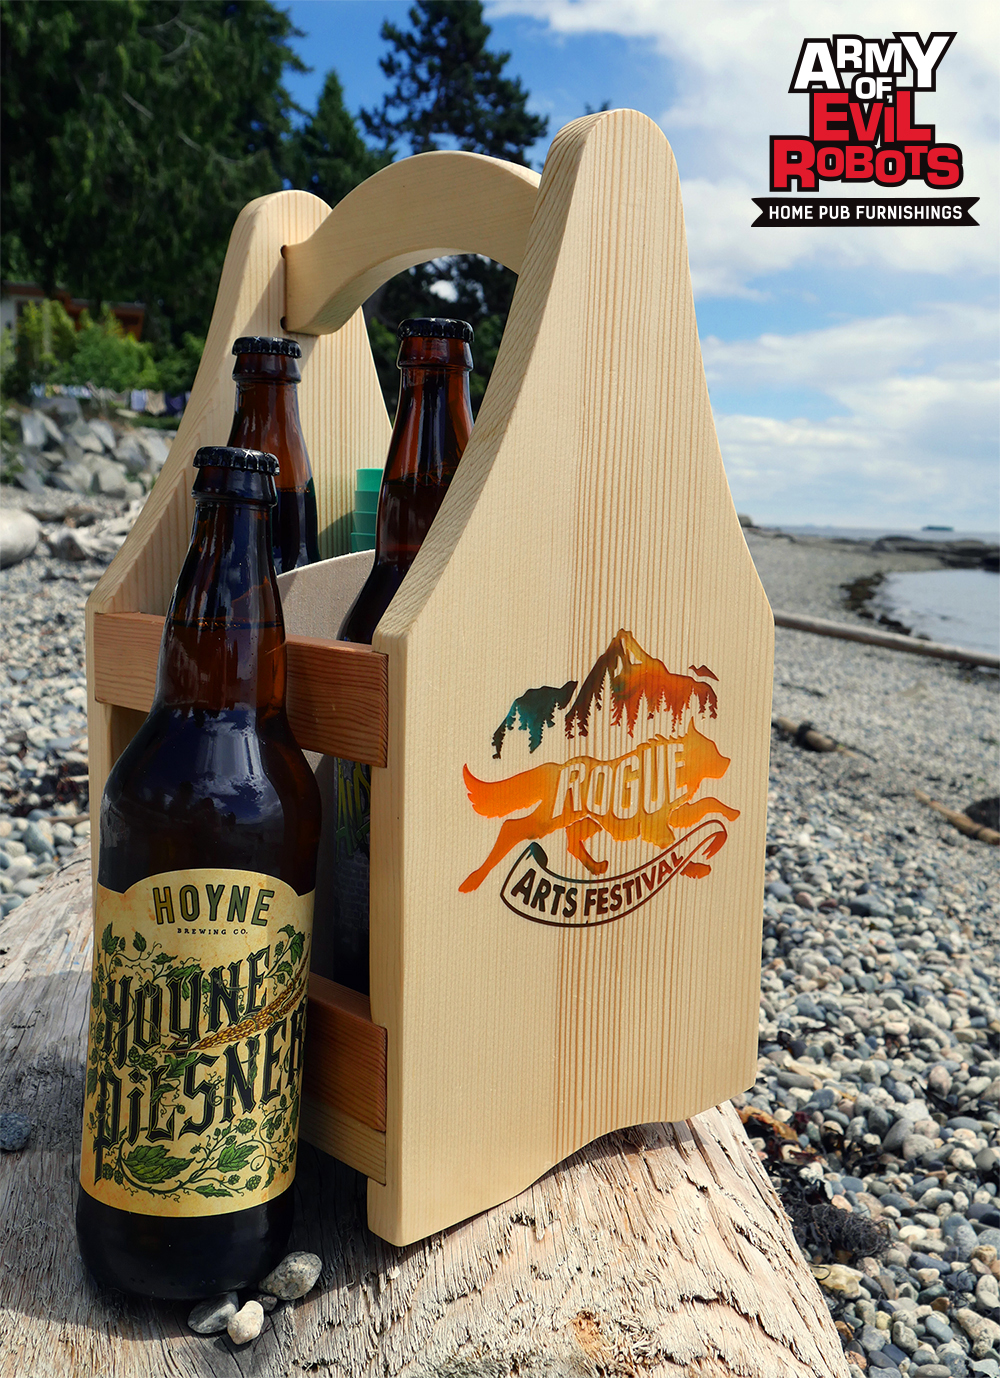
This past week we’ve been working on a special project for Rogue Arts Festival. It’s a great local festival that is holding an upcoming online auction fundraiser and we get to be part of it! We’ve made a Rogue Beach Beer Box that holds 4 bombers and includes a bottle opener and a removable divider for extra versatility.
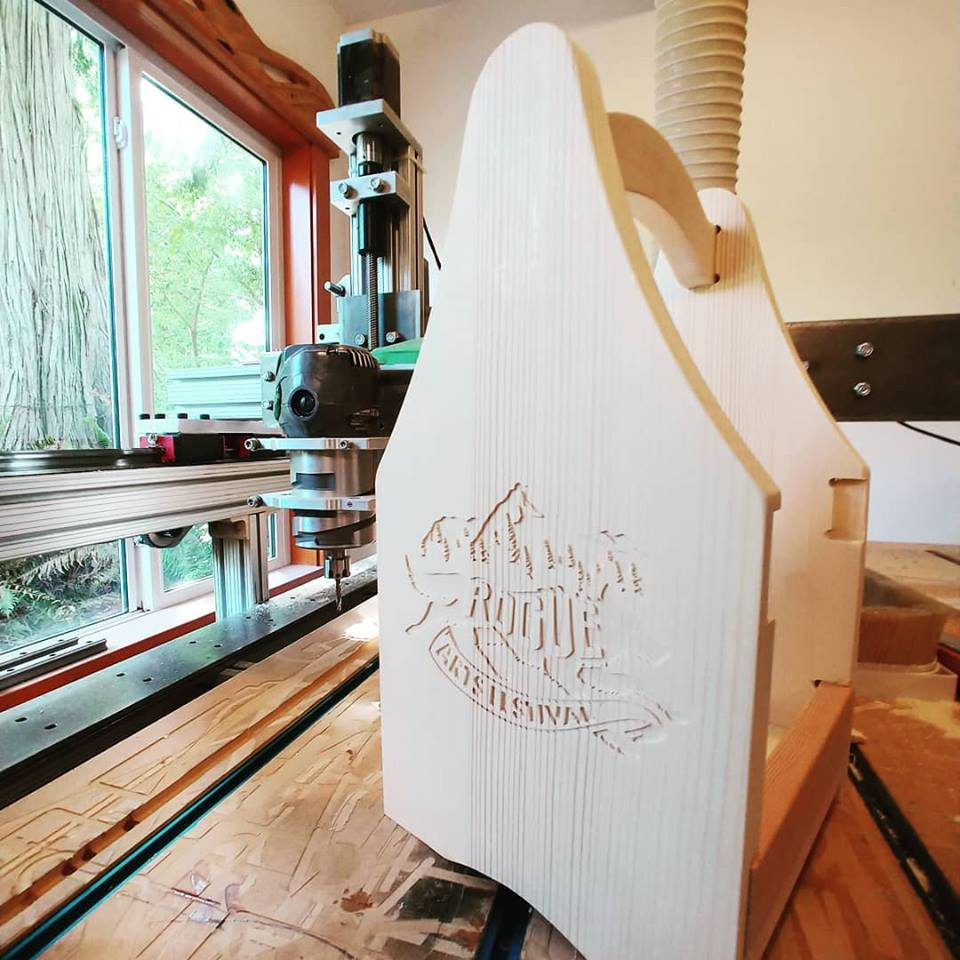
Once a project is designed and a 3D model is created, it is then cut by ‘Big Ben’ our CNC machine (computer numerical control). I can’t believe it’s been 7 years since Derek built Big Ben and it’s still going strong! Good Ole Big Ben!
Here’s the box fresh off the CNC!
Next we mix up a batch of 2 part epoxy using Tamiya paints to tint the colours and pour it over the carving (see earlier blog post with our handy epoxy pouring tips!)
Looks like a mess at this point doesn’t it?
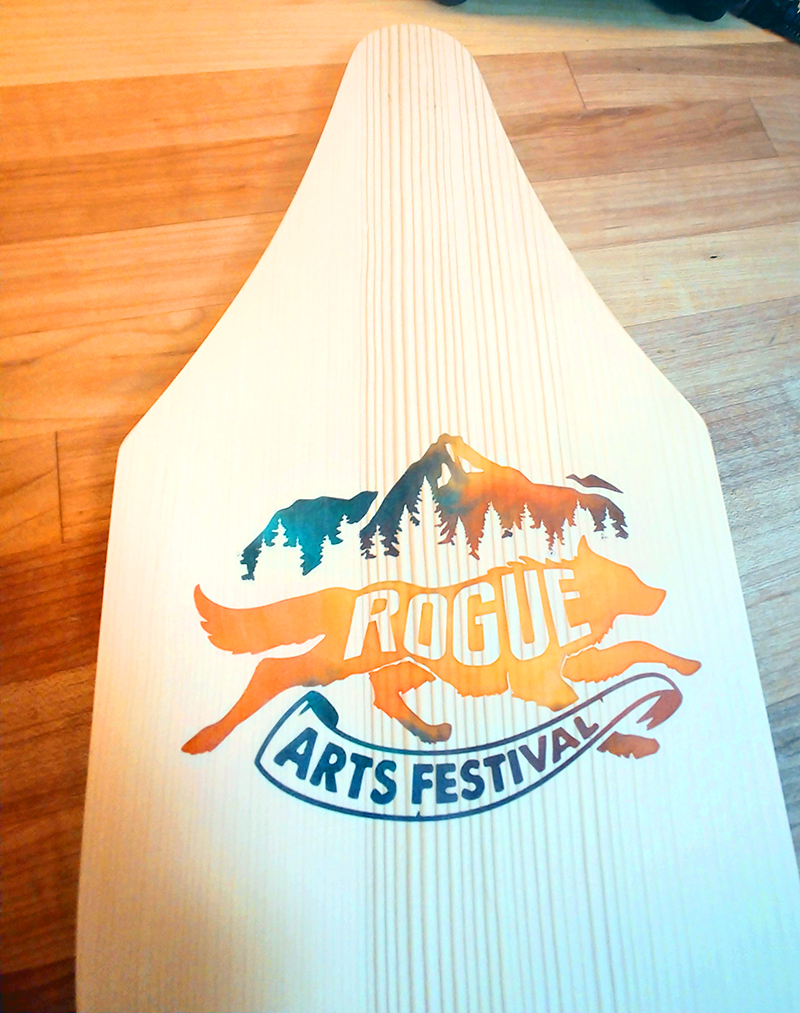
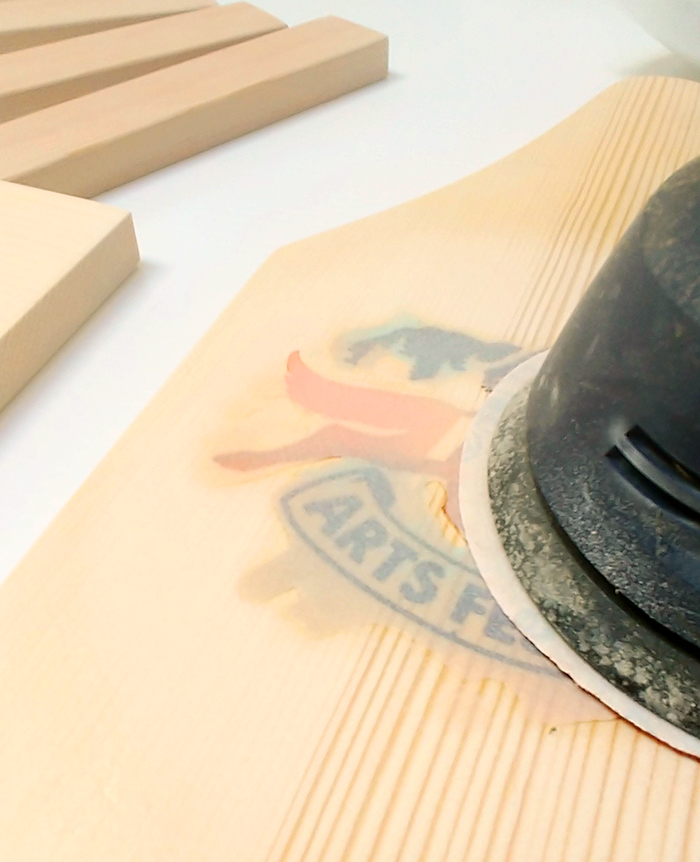 I love the next bit! Once it dries, we then sand off the excess epoxy to reveal the design beneath!
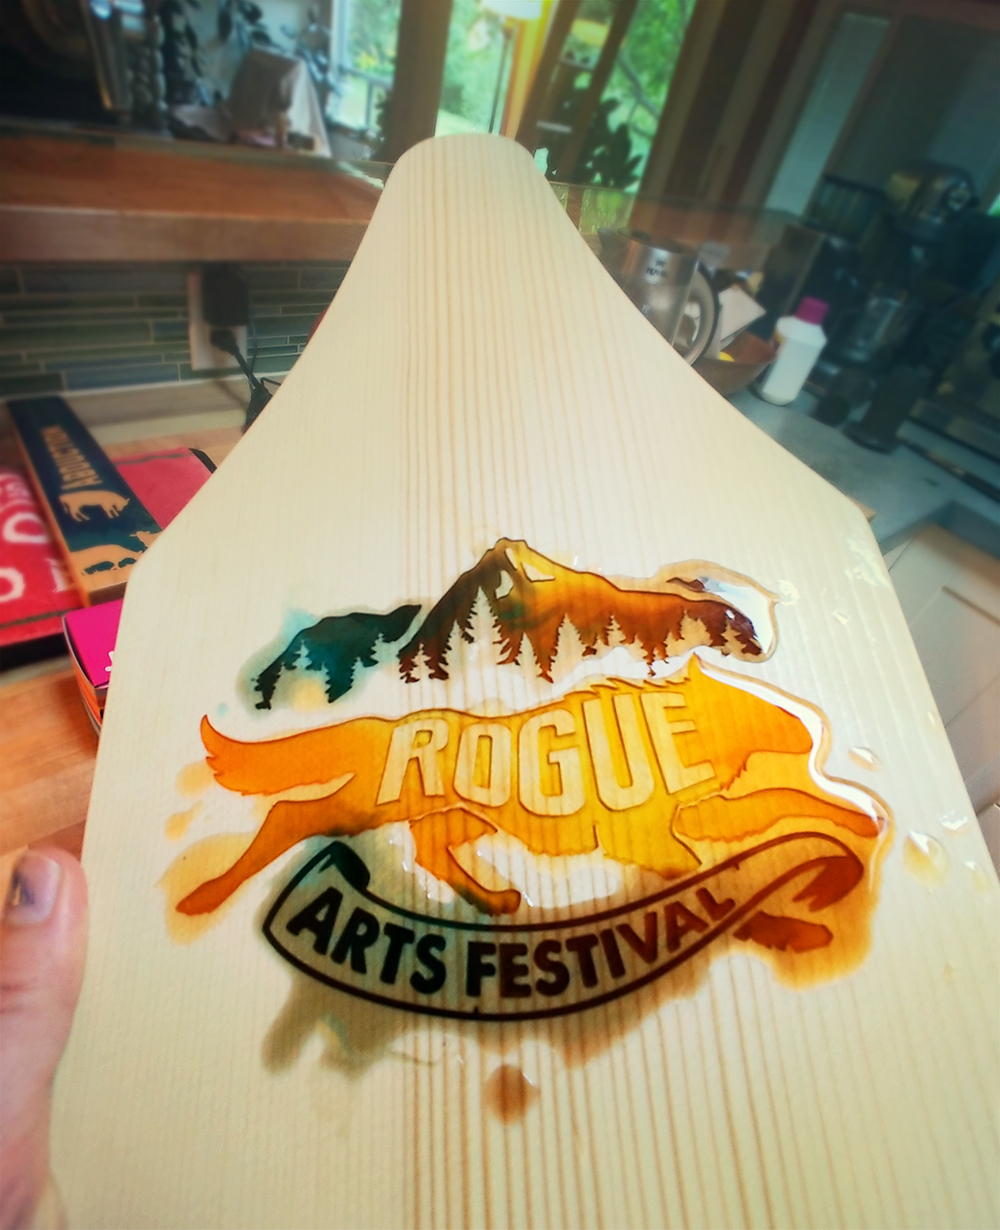
This can sometimes reveal a few surprises. In this case it was pretty much exactly what I was going for.
Here it is below, ready to apply finish:
Once the finish is applied, it is assembled and a cast bottle opener is attached to the back side.
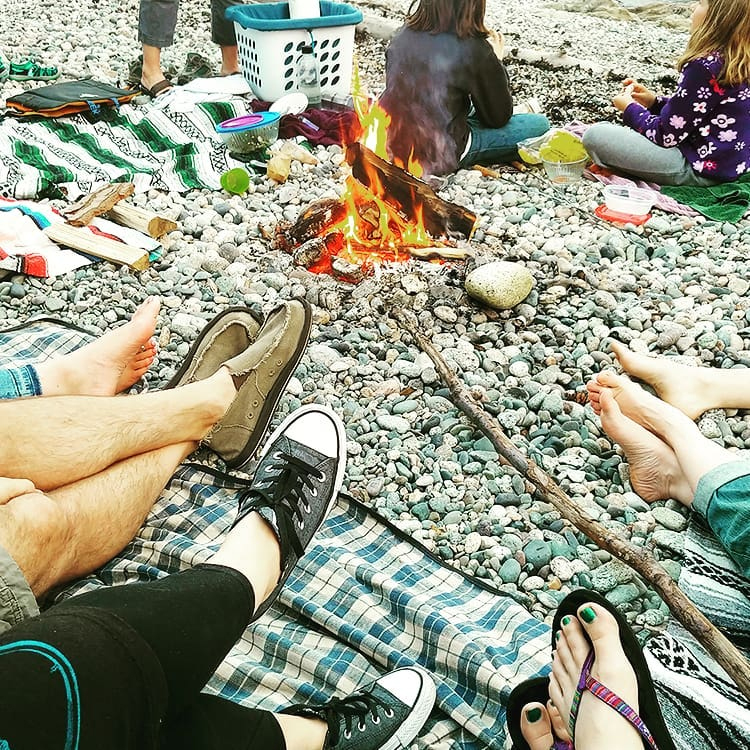
The next step is to fill it with beer and head to the beach :)
and of course….build a fire with your friends!